
How to Repair a Water-Damaged Bathroom Vanity: 5 Proven Methods
Bathroom vanities are commonly made from wood or MDF cabinets. They will inevitably suffer from water damage over a particular period. The core reason for this is that it’s built around the sink and placed in the house's most humid room.
Major leaks lead to irreparable damage, requiring excessive water damage clean up, whereas, minor leaks, continuous dripping, or spills can cause annoying issues. Well, the good news is that these issues can be resolved using the below-mentioned proven techniques for water damage cleaning.
Whether it’s wrapped or sagging panels, flaking panels, or peeling veneer, here is how you can deal with it
1. Doing The Water Damage Inspection
Water leaks don’t immediately lead to a vanity restructure, but it takes time. That’s why a water damage inspection from time to time is the key to maintaining your bathroom vanity. When the vanity is no longer structurally sound and the panels are sagging, it might be too late for you to do the inspection. Without wasting any time on repairing the old one, you should look for a new vanity.
2. Types of Water-Damaged Vanity Repairs
If your cabinet happens to be structurally sound, you did invest a lot in it at the time of purchase, and now you are somewhat attached to it. Don’t worry; regardless of the minor structural damage, you will be able to do the water damage clean up.
Preventing Water Damage to Bathroom Vanity
There is no particular methodology to guarantee that your vanity will not go through the process of being water-damaged. If your bathroom vanity is built around the sink, you will eventually have to deal with plumbing leaks. Moreover, you should keep a keen eye on the water damage molds reaching your precious vanity.
There are certain materials you might find helpful in limiting the potential damage.
A. Using Water Resistant Materials
One of the major materials that can withstand the effects of water damage molds is Maple plywood, rather than medium-density fiberboard or particleboard, as it is more efficient in dealing with water-caused damage to the vanity. Budget vanity comes with the installation of MDF; these materials are laminated veneer on the vanity surface. Due to the constant use of the vanity in a humid environment, the veneer starts to separate from the MDF. In this particular scenario, you need to use strong wood glue that makes the adherents reach a coherent point. If the entire MDF gets completely separated, it's time to get a new one.
B. Applying Moisture-Resistance Primer
High humidity is also linked to the peeling or flaking of the painted surface of the vanity. Giving it a fresh coat of paint can also help with water damage clean up. Also, the key technique is to apply a moisture-resistance primer. The selection of high-gloss or semi-gloss paint is better than having a flat finish. These are less resistant to the bathroom environment.
C. Mop Up Stains Immediately
If your quality wooden vanity is stained, unless you mop up spills at the right time, it becomes difficult to remove them. Your vanity might look like a light white mark, meaning the water has yet to fully penetrate. You can deal with this situation by covering the affected area with a dry cloth and ironing it on low heat.
D. Removing the Sagged Base
There are also instances where the vanity base is swollen due to the pool of water making it sag. In such situation, you should focus on removing and replacing the base rather than changing the entire unit. The base is often affected due to its proximity to the wall. This can cause vanity to get affected rapidly in no time.
3. Checking If the Vanity Can Be Saved
Water damage inspection leads to water damage cleaning. Whenever you enter your bathroom, you must look for any water damage molds. These can reach vanity at a particular time and make it sag. In the case of a professional water damage inspection, you can always call a carpenter.
4. Minimizing the Water Damage Molds
Regardless of the idea, water damage in a humid environment is impossible to avoid. However, there are certain points you can keep in mind to minimize water damage molds.
A. MDF Is Not a Good Selection
The selection of a vanity material that has a durable and resistive touch against the humid environment is a must. Rather than saving money on the budget, it is better to spend an extra $50 to avoid future trouble. Keep in mind that you should select materials other than MDF.
B. Keep Your Washroom Ventilated
A humid or moisturized environment is the enemy of your vanity. Keeping the environment ventilated and minimizing the humidity levels can improve the durability of your vanity unit.
C. Prompt Response to Water Molds
Water damage mold, or mildew can spread rapidly. Not only will it damage your wooden vanity, but it is also linked to health diseases. Therefore, you must tackle them promptly.
D. Use of Polyurethane
A polyurethane varnish can help protect your vanity. It helps seal your vanity and prevent water from penetrating your wooden vanity. Also, make sure the area around your sink is in good condition.
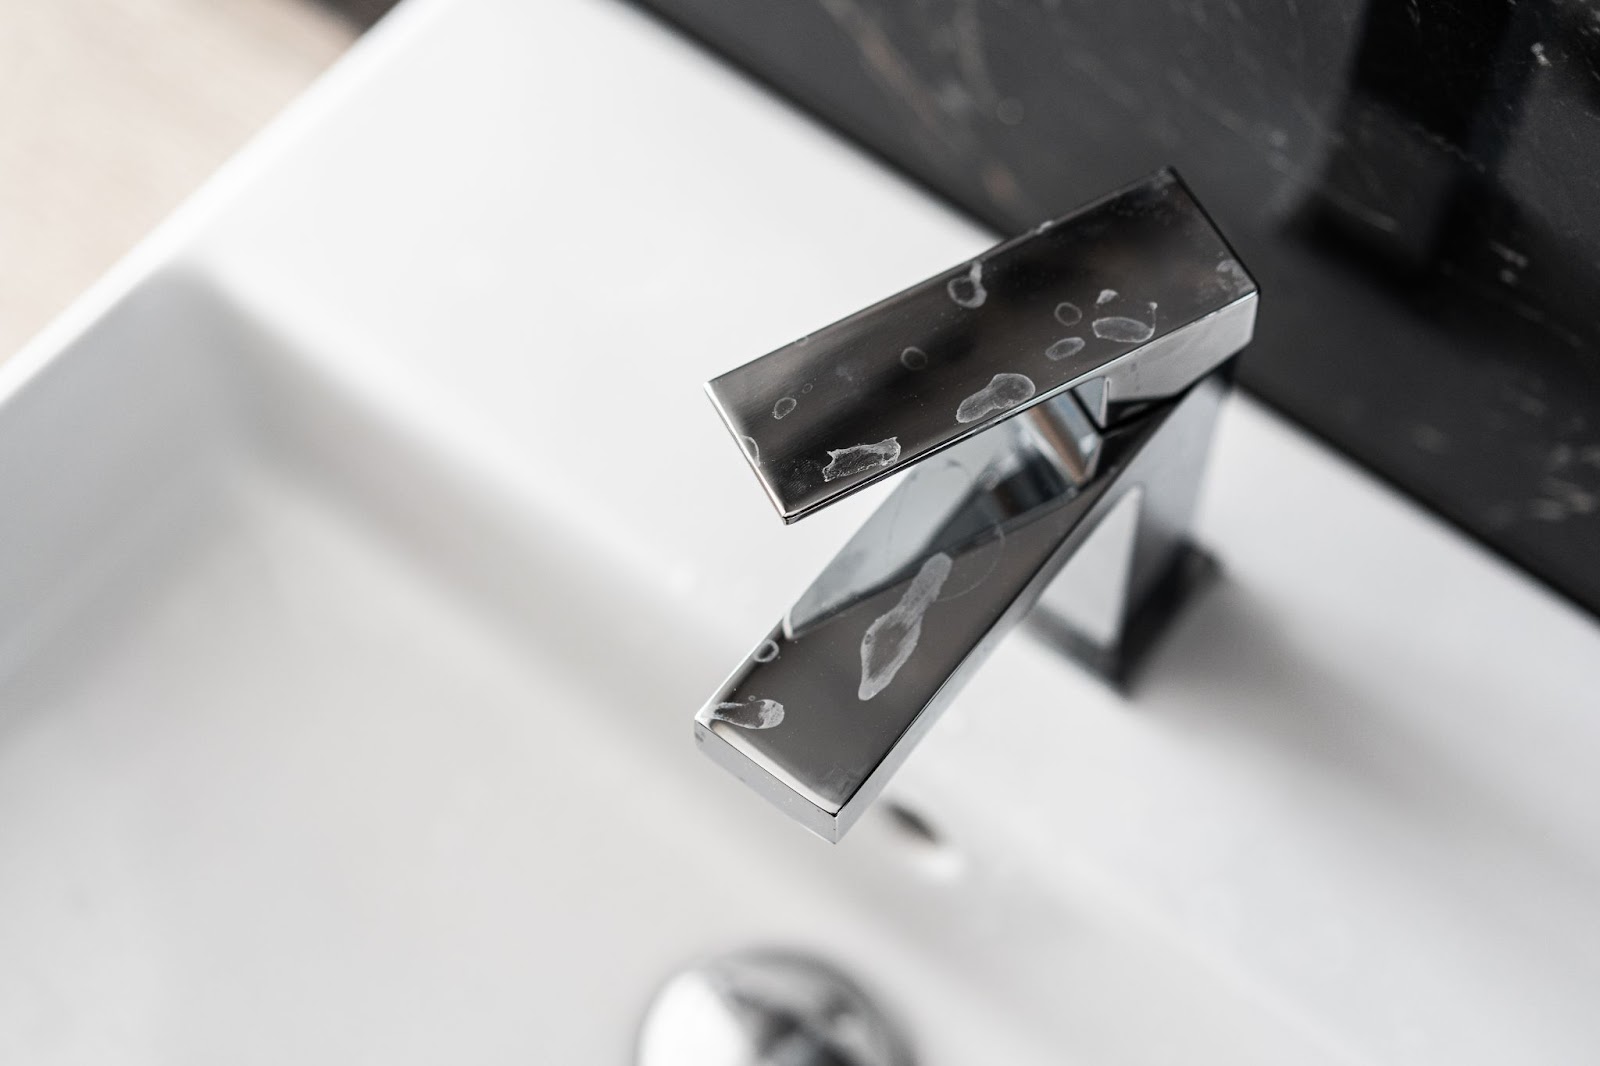
5. Addressing the Leak Promptly
A major leak might be visible immediately, but a leaky faucet or a pipe under or behind a vanity might be hard to track down. Regularly check your vanity and other cabinets to ensure your bathroom is free from leakage.
Conclusion
These are some of the proven techniques to repair your water-damage vanity. Note down these guidelines and keep a thorough check to ensure the life span of your vanity and the quality of your water damage cleaning. The bottom line remains clear: if the vanity is in a humid environment, it suffers water-induced damage. All you can do is minimize those damages before it’s too late.